REVIEW · PUCON
Pucón: Villarrica Volcano Climb
Book on GetYourGuide →Operated by ZENIT TRAVEL · Bookable on GetYourGuide
Villarrica gets serious at sunrise. I love the safety-first guidance from Zenit Travel teams led by people like Nacho and Osiel, and I love that you start with mountain gear provided instead of guessing what you’ll need.
Because this is an active volcano, the plan can shift with weather and daily seismic checks, and some days you may not get the full summit approach or the most fun sliding parts.
In This Review
- Key highlights you’ll feel the moment you arrive
- Villarrica from Pucón: the Ring of Fire experience in one hard day
- Your 9-hour timeline: Pedro de Valdivia to Villarrica National Park and back
- The day-before gear check that makes the morning smoother
- Starting uphill at 1,200 m: acclimatize first, then get “serious”
- Crampons, ice axe, and the glacier approach
- Reaching the crater: 2,847 m views, fumaroles, and possible lava
- The descent: half the climb time, plus controlled snow sliding
- Price and value: what $190 covers (and what it doesn’t)
- What to bring so you don’t feel cold, hungry, or unprepared
- Weather, volcano alerts, and how the day adapts
- Who should book this Villarrica Volcano Climb
- Should you book this Villarrica Volcano Climb?
- FAQ
- Where is the meeting point for the Villarrica climb?
- What time does the tour start?
- How long is the experience?
- Is transportation included?
- What equipment is included?
- Do I need previous climbing experience?
- Are food and drinks included?
- Is there a guide? What language?
- Is the tour suitable for children?
- What happens if weather or volcano conditions are bad?
Key highlights you’ll feel the moment you arrive
- Early 6:00 am start with a gear check the day before so you move fast when the weather window opens
- Switch from hiking to crampons and ice axe as you reach the summit glacier
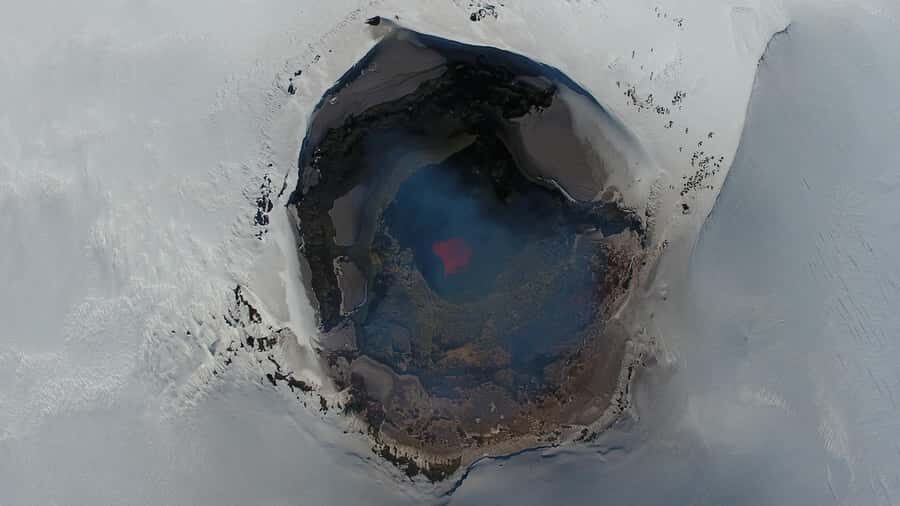
- High-altitude crater moment at 2,847 m with fumaroles and a chance of lava sightings
- 360-degree views over other volcanoes, lagoons, and forests
- Guided descent using controlled snow sliding to save time and make the route more fun
Villarrica from Pucón: the Ring of Fire experience in one hard day
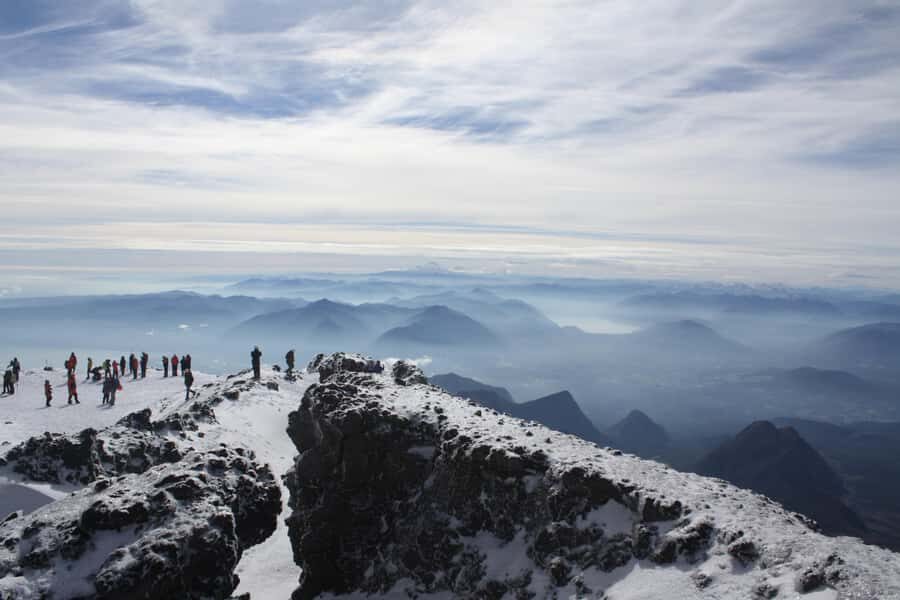
Pucón sits right on the edge of Chile’s volcanic action, and Villarrica is the star. This climb takes you from forest-and-trail walking into a proper alpine-style ascent, then back down using snow skills your legs didn’t know they needed.
What makes this day special is the mix: you get a classic volcano summit payoff (crater views, fumes, big geology talk) and you also get practical mountain training during the move. The equipment is handled, the guides coach you through crampons and ice axe use, and you’re not left to figure it out on your own.
And while it’s called a climb, it’s also a human-scale group hike. The guides keep you together, explain what’s happening, and talk through the Andes and volcanology while you’re on the mountain, so the day feels like more than just steps.
You can also read our reviews of more tours and experiences in Pucon.
Your 9-hour timeline: Pedro de Valdivia to Villarrica National Park and back
The day runs long, but it stays simple.
You meet at Pedro de Valdivia 205. Plan to be at the office area by 06:15, and look for Zenit Travel under the arch. You’ll start moving shortly after, with a van ride of about 30 minutes to the base.
Then comes the main block: Villarrica National Park hiking for about 8.5 hours. That time includes acclimatizing, switching to glacier gear, reaching the summit altitude of 2,847 meters, and the return route.
Finally, it’s another 30 minutes by van back to the same Pedro de Valdivia 205 drop-off point. When people say it feels like a whole-day adventure, this itinerary matches that exactly.
The day-before gear check that makes the morning smoother
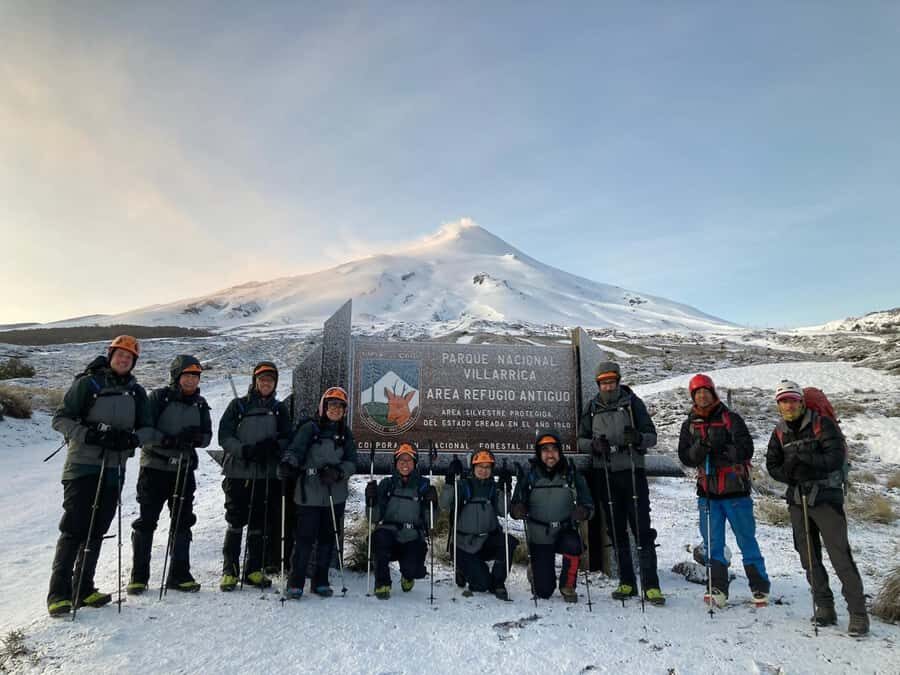
You’ll meet with the local partner the day before for an equipment check-up and a brief explanation of what to expect. That’s not “extra admin.” It’s the reason the early start can feel organized instead of chaotic.
On a volcano ascent, the gear fit matters. Crampons have to sit right with your boots, and your layers need to work when you’re climbing hard but also when wind and cold hit near the summit area. If anything feels off, that day-before time is when you want it fixed.
One practical thing to do: be ready for boot fitting to take a minute. A couple of specific issues showed up in past experiences, including a mix-up during shoe fitting that caused a second adjustment. So when they hand you your boots the day before, confirm sizes and keep your assigned kit straight, then do a quick check again in the morning before you step outside.
Starting uphill at 1,200 m: acclimatize first, then get “serious”
The ascent begins around 1,200 meters above sea level with a traditional hiking start. The pace is meant to help you acclimatize, not sprint your way uphill. This matters because Villarrica doesn’t play games: you’ll be working continuously, and your breathing will matter more than you think.
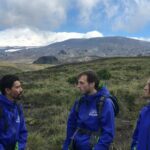
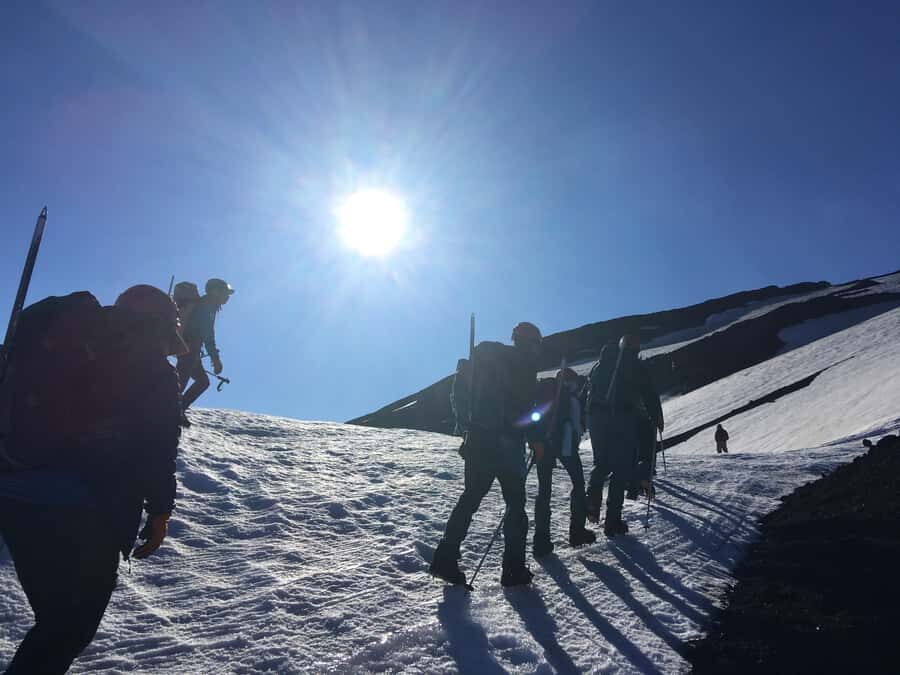
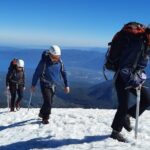
As you get closer to the summit glacier, the climb changes. This is the point where you move from hiking boots-and-poles mode to crampons and an ice axe. Guides explain how to use the tools and help you transition step-by-step so you’re not guessing on steep snow.
The guide-led pace is also where the day becomes easier (and safer) than people expect. Multiple guides support the group, and the structure—one certified guide every 3 participants—is there for a reason. It’s how you get help if you’re slower, more cautious, or just unsure about footing.
Crampons, ice axe, and the glacier approach
Once crampons go on, you’ll feel the difference immediately. Your steps are smaller, your footing is more precise, and your rhythm matters more than distance.
This is where the guides’ job is hardest: they’re managing not just your speed, but everyone’s confidence on snow and ice. English support is available, and the communication style is hands-on—clear instructions, watchful supervision, and explanations about what you’re seeing as the route tightens toward the summit area.
You should also expect some segments to be emotionally intense, even if you’re physically fit. Ice and steep snow can feel sketchy at first, and the best thing you can bring is patience with your own timing. The guides are guiding you to the summit safely, not pushing you to prove anything.
Reaching the crater: 2,847 m views, fumaroles, and possible lava
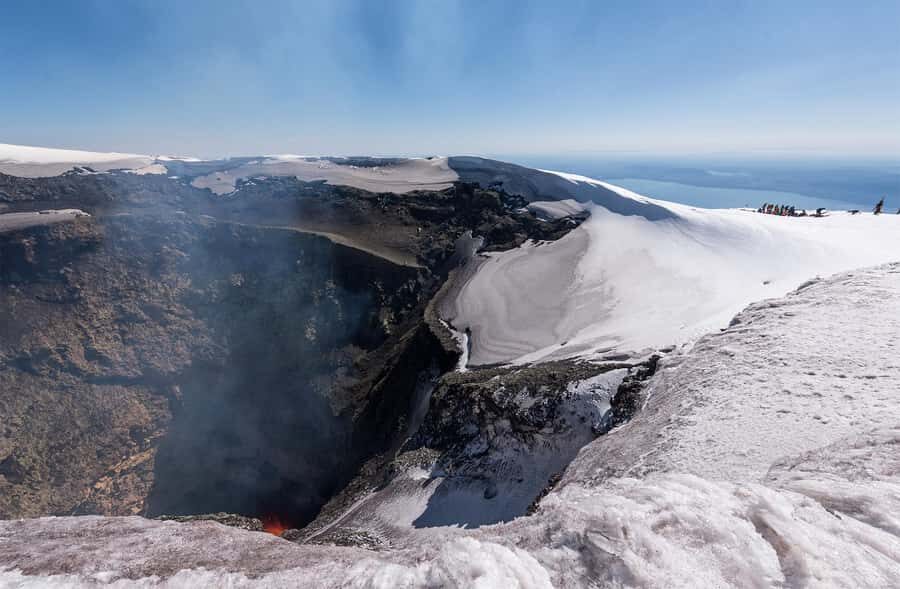
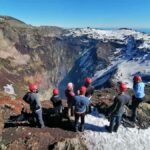
After about 5 to 6 hours of climbing, you reach the summit at 2,847 meters. Then you get around half an hour at the top.
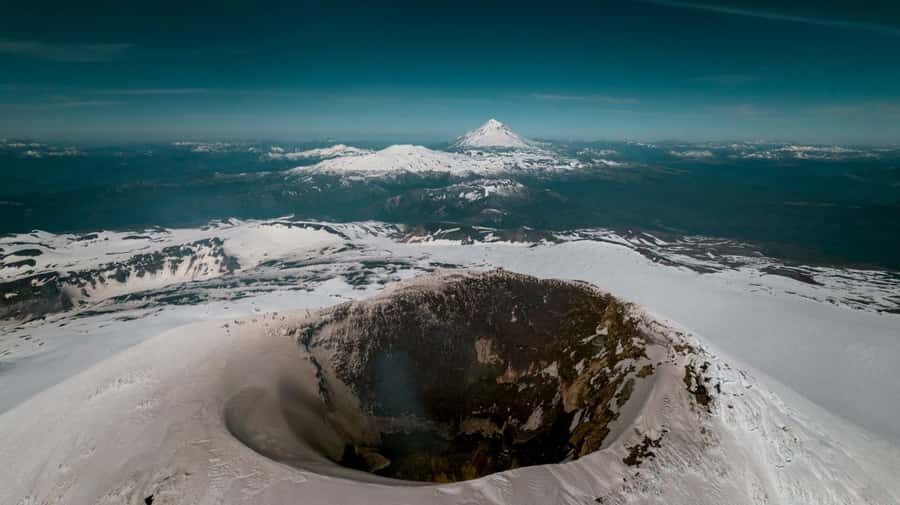
What you’re really there for is the crater scene. You can look into the middle of the crater and see dramatic geological formations up close. You may also notice fumaroles, and on some days there’s even a chance of seeing lava activity from the summit area.
Then comes the wide-angle payoff: 360-degree views. From up there you can see surrounding volcanoes, lagoons, and forests. It’s the kind of view that makes the hard parts feel earned, because you’re not just looking at a volcano—you’re seeing how this entire region connects.
The guide conversations also keep the summit time from becoming silent. You’ll get talk about native peoples of the Andes, how mountains connect to culture and life, and some practical volcanology explanations tied to what you can see and smell (when the conditions cooperate).
The descent: half the climb time, plus controlled snow sliding
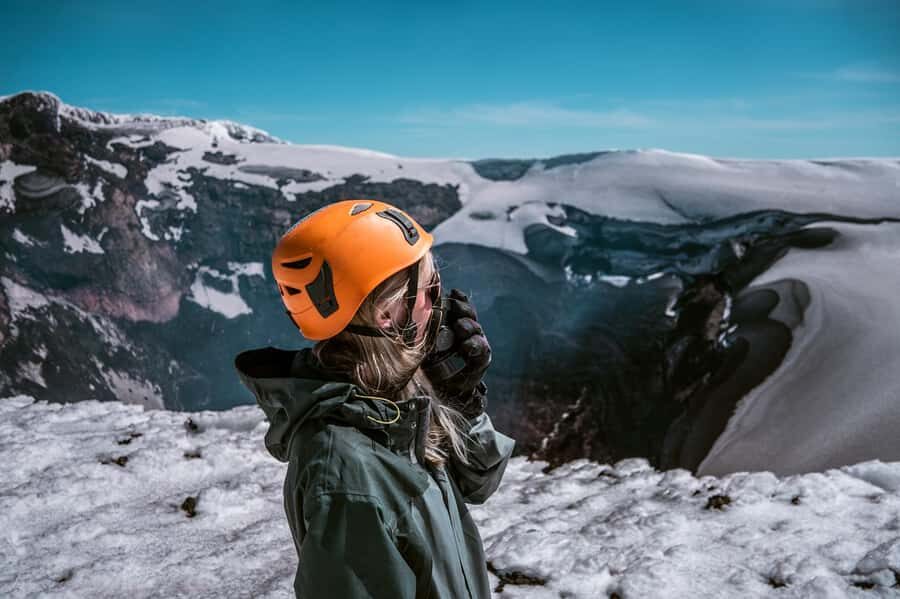
The descent is usually where the day turns from “work” to “wow.” You’ll go down in about half the time it took to climb up.
Instead of hiking every step, you’ll combine walking with controlled snow sliding. This isn’t “free for all.” The guides control how it’s done so you get the speed without losing safety.
And yes, this is often the highlight. A lot of people remember the fun factor here: sliding down snowy slopes on an active volcano is rare on a travel itinerary. Some days you slide most of the way; other days, weather can limit how much the guides let you do. Either way, the descent strategy usually means less pounding on your legs than a constant step-by-step walk.
If you have knee concerns, note that this slide component changes the mechanics of going down compared with walking down rock and trail. Still, your best move is to follow guide instructions closely, wear the provided gear, and bring the attitude of someone learning a new way to move.
Price and value: what $190 covers (and what it doesn’t)
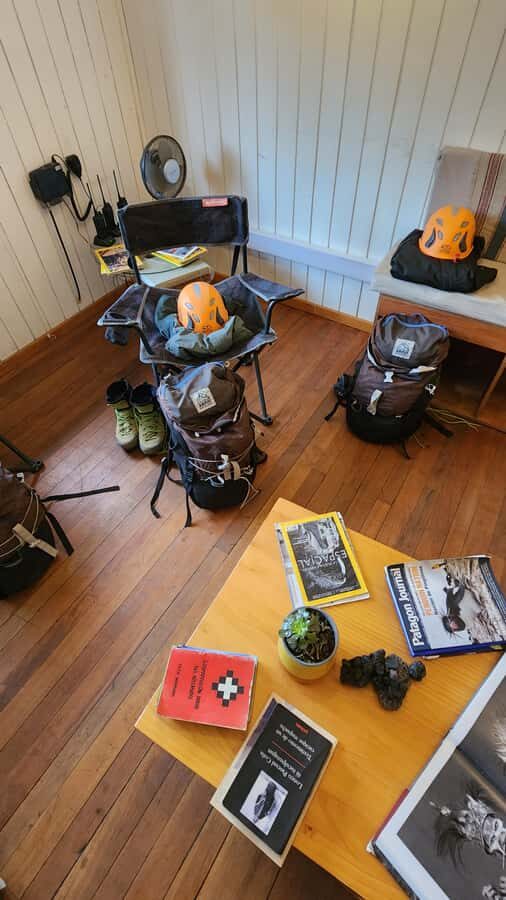
At $190 per person for a full 9-hour volcano day, the value comes from what’s included.
You get:
- transportation to and from the office in central Pucón
- Villarrica National Park entrance
- a full set of mountain equipment, including boots, poles, crampons, ice axe, helmet, backpack, trousers, jacket, gloves, and gaiters
- guide staffing at 1 certified guide per 3 participants
If you’ve ever priced crampons, ice axe rental, and a proper boot-and-crampon fit locally, the included equipment alone does a lot of the heavy lifting for the price. This is also a real benefit for first-timers. You don’t have to shop blindly or hope the rentals fit right.
Not included is where you need to plan ahead:
- food and drinks
- sun protection and trekking clothing (the basics that keep you comfortable at altitude)
- trekking gear you bring yourself
- and the ski resort towing ticket for the approach if you want to use the lift/extra help at the beginning (it’s not included, so expect to pay separately if you choose it)
What to bring so you don’t feel cold, hungry, or unprepared
The essentials are straightforward, and the altitude makes them matter more.
Bring:
- food and drinks (this isn’t a lunch-included day)
- sunscreen
- trekking gear
Then add the sensible extras that make a difference on a volcano. Reviews mention layers as key because conditions change with elevation and effort. A buff can also help with cold wind and comfort around your neck.
Night before tip: consume pasta/carbohydrates and get well hydrated, ideally skipping alcohol the night before. It’s a simple routine, but on a hard early-morning start it pays off.
Weather, volcano alerts, and how the day adapts
This climb runs under real volcanic conditions. The program is subject to weather, and there is daily monitoring of the volcano’s seismicity.
So yes, the day can change. Strong wind or visibility can reduce what’s possible at the summit approach and can even limit the sliding section. Safety comes first, and the guides are the ones deciding whether you keep pushing for a summit window or adjust plans.
In practice, it helps to keep your mindset flexible. If you’re the type who plans your whole day around a specific photo spot, you’ll enjoy this more if you treat the summit as the goal but the climb itself as the product.
Who should book this Villarrica Volcano Climb
This experience is not for kids: it’s not suitable for children under 18.
It also isn’t a casual stroll. The official note says you don’t need previous climbing experience, just minimum physical condition. But the mountain is long and continuous, and the snow/ice sections add intensity fast. Many people describe it as challenging endurance work, with little to no flat walking.
You’ll likely love it if:
- you want a structured intro to crampons and ice axe under real guide supervision
- you like the payoff of summit views at 2,847 m
- you enjoy guided explanations about Andean culture and volcanology, not just a silent walk
You might think twice if:
- you’re looking for a relaxing day
- you don’t handle early starts well
- you hate uncertainty (because weather can affect how far you go)
Should you book this Villarrica Volcano Climb?
Book it if you want the most classic Chilean volcano day out of Pucón, with gear handled, guided safety, and a descent that’s genuinely fun. The price makes sense when you factor in the equipment and staffing, and the guide team style seems to be built for keeping different paces moving together.
Don’t book it if you want a guaranteed crater-top experience every time, or if you’re not ready for a hard, cold, early-morning ascent. This is a real mountain day, and Villarrica reminds you of that from the first uphill step.
If you’re physically able and you’re okay with weather-driven adjustments, this is one of those trips where you’ll remember the views and the whole day’s rhythm, not just one moment.
FAQ
Where is the meeting point for the Villarrica climb?
Meet at Pedro de Valdivia 205. You should arrive around 06:15, and look for Zenit Travel under the arch.
What time does the tour start?
You meet at the office at about 6:00 am, and the instructions say to arrive by 06:15 am on the day of the activity.
How long is the experience?
The total duration is about 9 hours.
Is transportation included?
Yes. The tour includes transportation from and to the office in the center of town.
What equipment is included?
Mountain equipment is included: mountain boots, poles, crampons, ice axe, helmet, backpack, trousers, jacket, gloves, and gaiters.
Do I need previous climbing experience?
No previous experience is required for the ascent. You only need a minimum physical condition.
Are food and drinks included?
No. Food and drinks are not included, so you should bring them.
Is there a guide? What language?
Yes. There is a live tour guide in English, with 1 certified guide every 3 participants.
Is the tour suitable for children?
No. It is not suitable for children under 18.
What happens if weather or volcano conditions are bad?
The program is subject to weather conditions, and there is daily monitoring of the volcano’s seismicity, so the plan may adjust based on safety.