REVIEW · SAN PEDRO DE ATACAMA
San Pedro de Atacama: Volcano Downhill Bike Tour
Book on GetYourGuide →Operated by Ride Atacama · Bookable on GetYourGuide
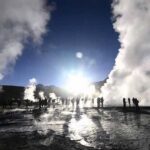
Altitude makes the downhill extra wild. This guided San Pedro de Atacama ride takes you from near Licancabur up to around 17,000 feet, then points the wheels downhill for a controlled, scenic push of adrenaline. I love that it blends big-Andes views with real safety systems, not just thrill-seeking.
Two things really made the experience feel solid for me: the pro setup (bike fit, full protective gear, and constant guidance) and the way guides like Gary and Sti actively watch your altitude pace and comfort. One thing to think about is the weather: the start time can shift, and if winds are strong, you may get rescheduled or adjusted.
In This Review
- Key points to know before you go
- From Casa Quitor to Licancabur: the morning acclimation
- Cerro Toco summit around 17,000 feet: safety gear and bike fit
- The 15-mile descent: what the downhill ride really feels like
- Views you can actually enjoy from the saddle
- Support on the trail: bikes, first aid vehicle, and the little extras that matter
- Price and value: why $250 can make sense in the Andes
- Weather, start times, and the Andes wind problem
- Who should book this Cerro Toco bike tour
- Should you book San Pedro’s Volcano Downhill Bike Tour?
- FAQ
- How long is the San Pedro de Atacama Volcano Downhill Bike Tour?
- Where do you get picked up in San Pedro de Atacama?
- How far is the downhill bike ride?
- What altitude does the tour reach?
- What bike and safety gear are included?
- Are the guides available in English and Spanish?
- Is food and water included?
- Is this tour suitable for children or people with mobility impairments?
- What is the cancellation policy?
Key points to know before you go
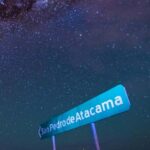
- Casa Quitor pickup makes it easy to start and finish in the center of San Pedro.
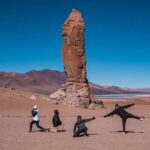
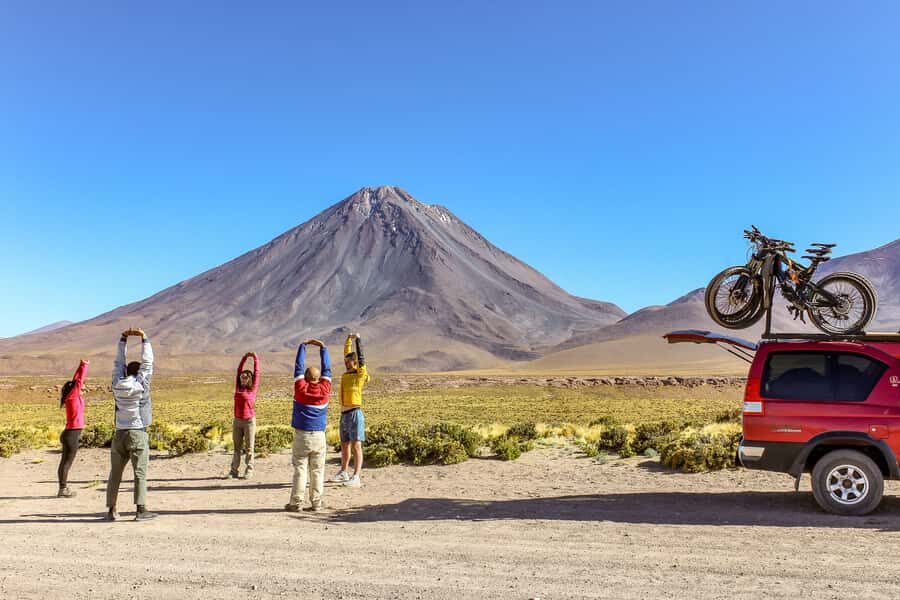
- Paso Jama route viewpoint near Licancabur sits around 12,800 feet for photos plus a light breakfast and hot drink after a short warm-up.
- Cerro Toco summit area near 17,000 feet is where you get safety briefed and kitted out with the right gear.
- A 15-mile descent on mixed surfaces (dirt, rocks, and compact terrain) with professional guides and a support vehicle.
- HD pictures + a cold Chile drink at the end keep the memory long after your legs stop shaking.
From Casa Quitor to Licancabur: the morning acclimation
The day starts with pickup from Casa Quitor, then you’re on a jeep/SUV ride into the high country. Your exact start time depends on conditions in the Andes, so plan for an early morning that can slide a bit based on wind and weather.
Your first real stop is on the Paso Jama route, near Licancabur Volcano, at about 12,800 feet. This is not just a quick look-see. You get a short photo window (about 15 minutes), then you do a 15-minute warm-up activity designed to get your body moving before you’re asked to breathe at altitude. After that, there’s a light breakfast and a hot drink. It’s a small thing, but it matters here: at these elevations, energy and hydration aren’t optional.
I also appreciate that this portion isn’t rushed. Between the photo stop and the warm-up, you get a gentle ramp into the altitude experience instead of going straight to the summit and hoping your lungs cooperate.
One potential drawback: if conditions are difficult, you might feel like you’re waiting for the day to lock in. This tour is weather-dependent, so the morning flow can change to match the conditions on the route.
You can also read our reviews of more cycling tours in San Pedro De Atacama
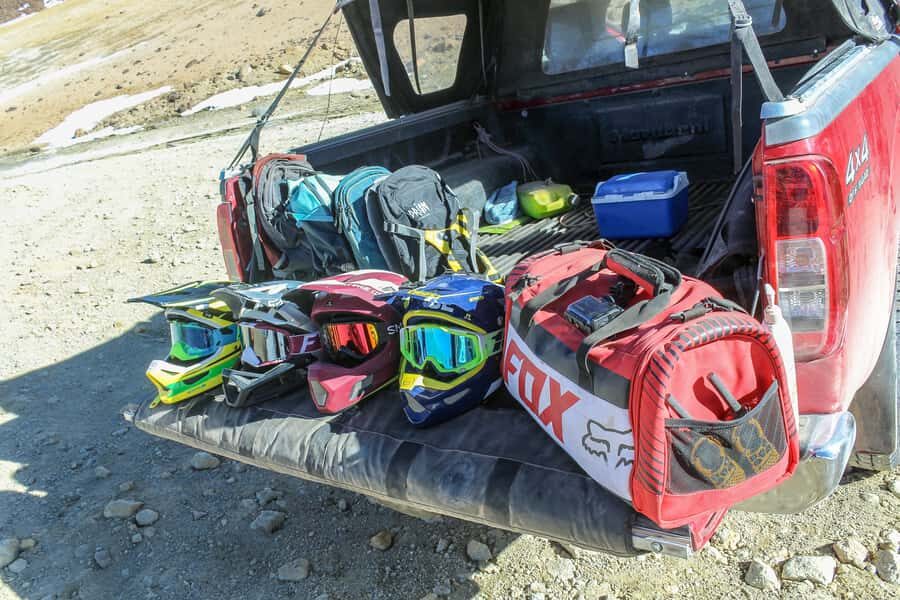
Cerro Toco summit around 17,000 feet: safety gear and bike fit
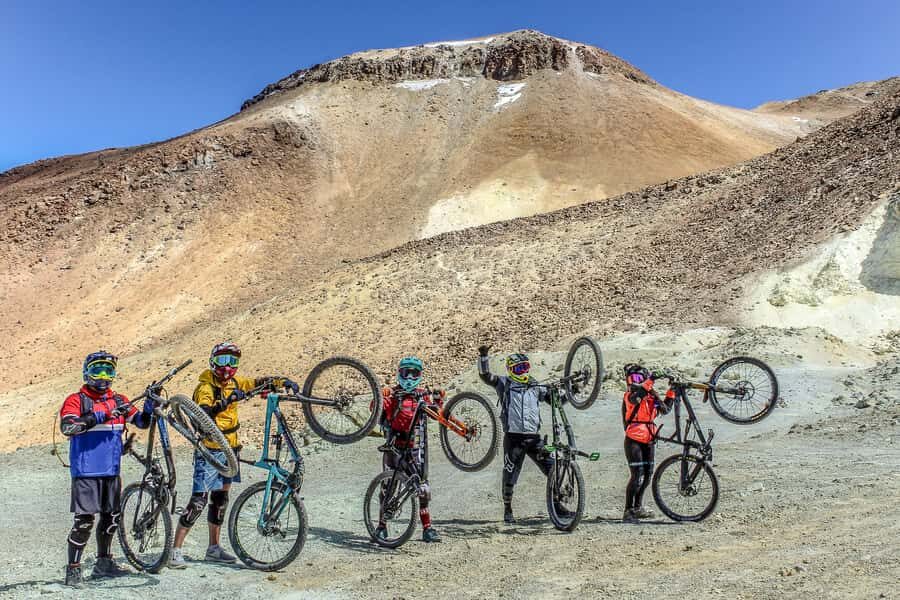
Once you’re closer to the top, the tour shifts from “scenic ride” to “do this safely.” You continue up toward Cerro Toco, reaching the highest point around 17,000 feet.
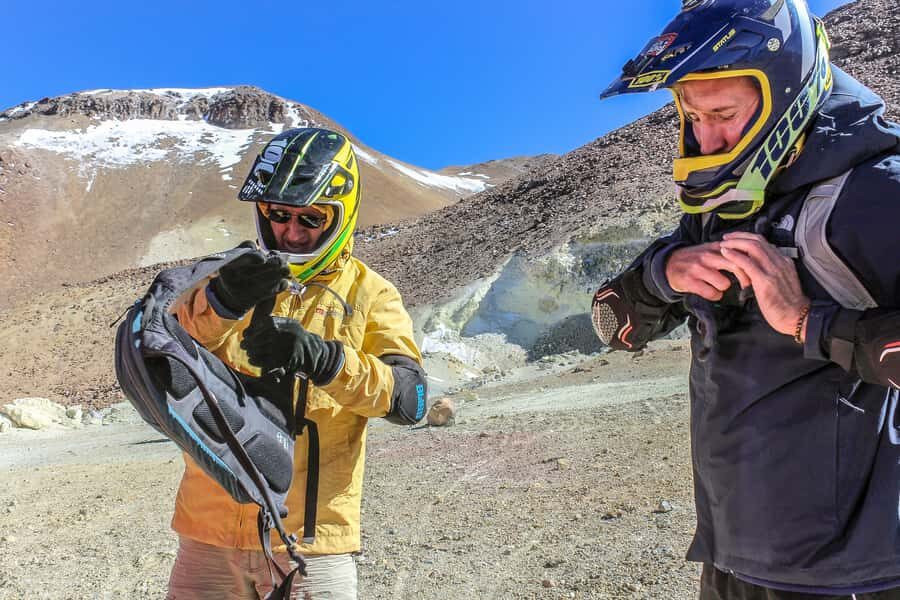
This is where the guides earn their money. You’ll get a safety briefing, then you’ll be kitted out with all the protective gear: helmet, gloves, elbow/forearm guards, and knee/shin guards. You also get a bike adjustment to your body, which sounds basic until you’re riding downhill at speed and your fit makes the difference between calm control and constant fiddling.
The altitude part is real. In one rider’s experience, the day felt like being at roughly 5200m before dropping down to around 2600m—so even if your numbers feel slightly different, you should still treat the breathing part seriously. I’d go in well-rested, not just “I slept okay.”
If you’re the type who gets anxious about technical detail, you’ll probably like this: the ride is led by professionals, and the group is supported. Guides like Gary are known for checking in during the ride and helping you manage your pace so you can focus on the trail instead of panicking about oxygen.
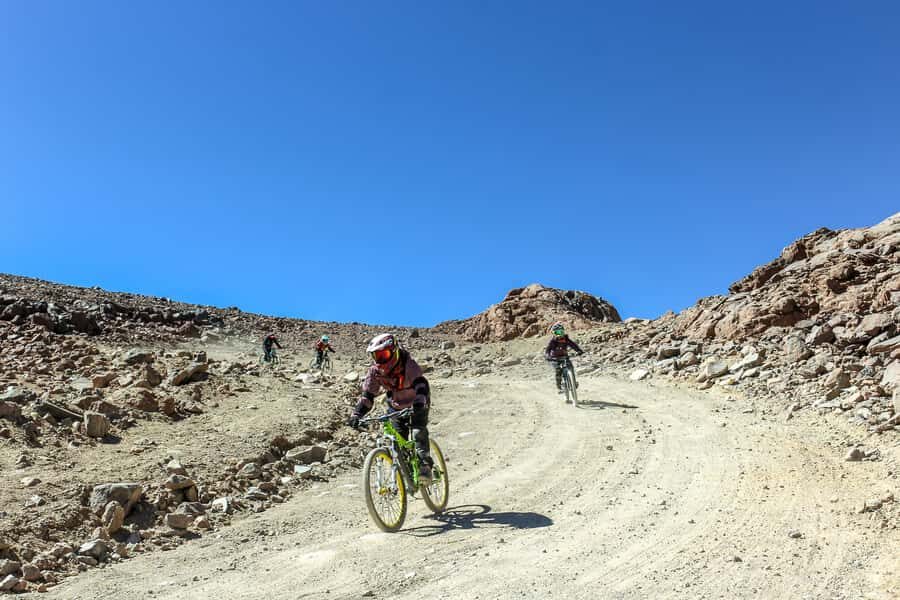
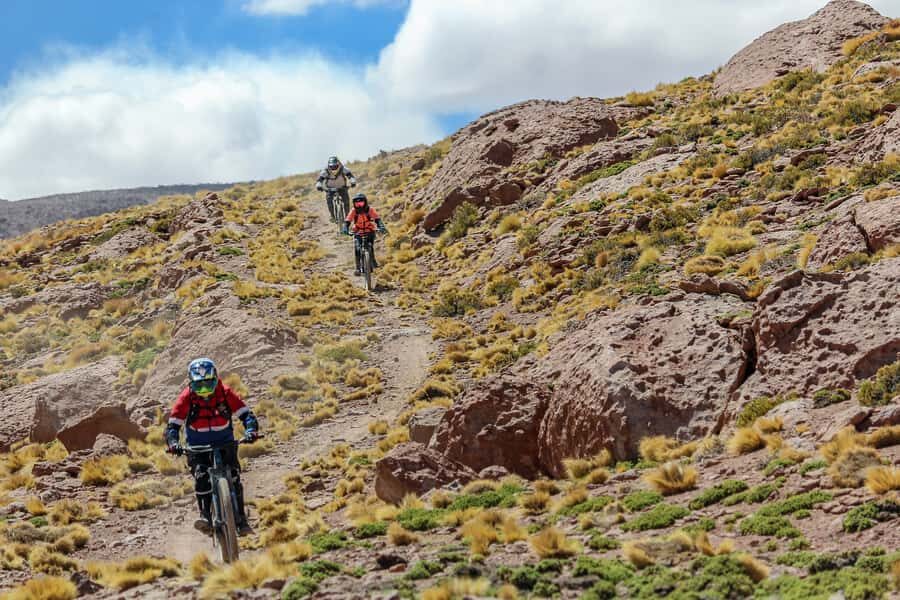
The 15-mile descent: what the downhill ride really feels like
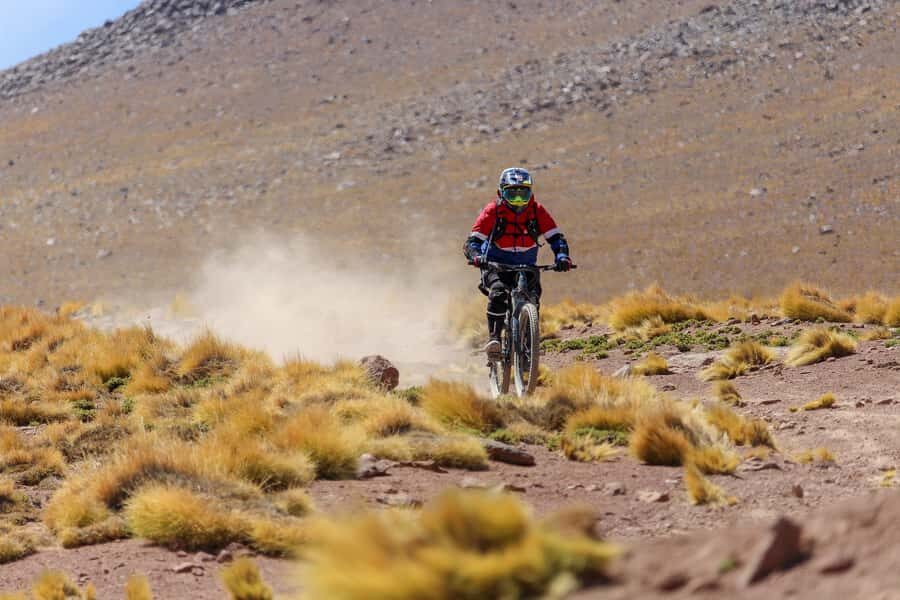
Now for the main event: a 15-mile downhill ride on a circuit that mixes surfaces. You’ll be on dirt, rocks, and compact terrain, and the goal is fast fun with control. The tour’s highlights stress that this is a safe adrenaline hit, and the structure backs that up: you ride with professional guides the whole time, plus there’s a support vehicle for first aid.
What I like about the way this tour is described is that it doesn’t promise an extreme technical challenge. In one rider’s account, the trail falls on the easier end (they referenced an S0/S1 style). That makes a big difference for you if your mountain biking is still building. One rider with about a year of experience said the terrain felt doable, and the guide helped them enjoy it without getting overwhelmed.
At the same time, you should respect the altitude and the downhill physics. Even if the trail isn’t overly technical, descending means your legs stop doing the work and your braking and balance do it instead. If you’re unsteady in everyday situations—uneven sidewalks, gravel paths—practice at lower altitude first, because here you won’t have time to improvise.
Your guides can also call breaks when you need them. That’s not just for sightseeing; it’s for getting your breath back so you can ride well, not just survive.
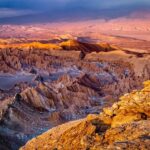
Views you can actually enjoy from the saddle
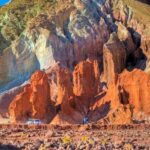
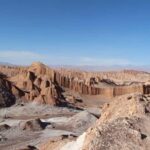
This is one of those rides where the scenery isn’t a bonus—it’s part of the point. When you’re climbing, you’re already looking at huge volcano silhouettes. When you’re descending, you get long sightlines that make it feel like the mountains are sliding past you.
One rider specifically pointed out the view: look to the right and you’ll see Licancabur looming over the area. To the left, there are other mountain shapes that can be hard to identify on the spot, but you’ll still feel the scale.
Also, this isn’t only a camera moment. I find that having a planned photo stop earlier in the day helps you later. By the time you’re on the downhill, you’re not scrambling for angles—you just ride, stop if you need to, and take what you can safely take.
And yes, the tour includes HD pictures, so you’re not fully dependent on your own settings. Still, bring a phone you can operate with gloves, because cold hands at altitude are a real thing.
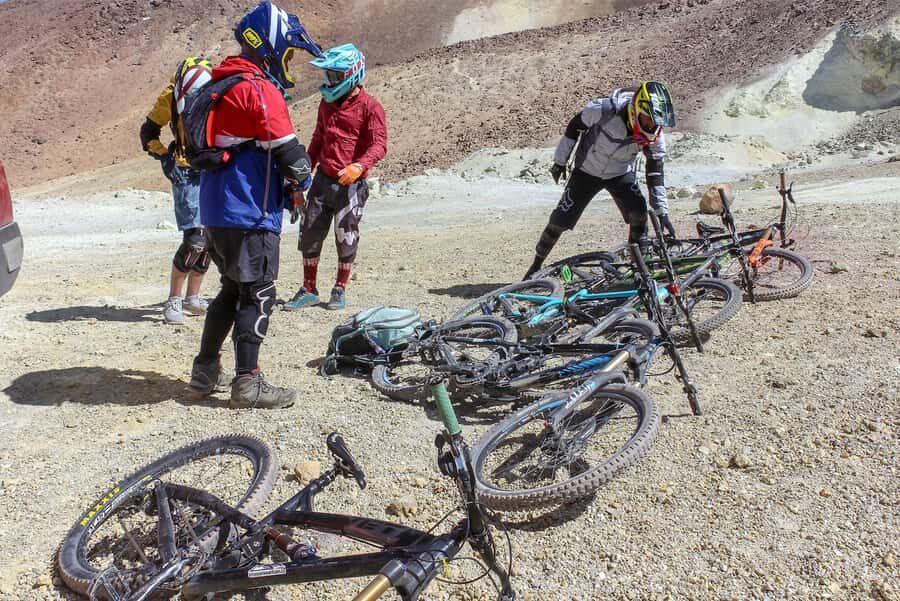
Support on the trail: bikes, first aid vehicle, and the little extras that matter
Let’s talk about the “behind the scenes” items that can make or break a high-altitude adventure.
You get a professional mountain bike and full safety gear already sorted. You’re not meant to show up with your own helmet or hunt down protection on arrival. That reduces stress, especially when you’re also trying to manage altitude.
There’s also a professional support vehicle (first aid). You’re not alone out there, and the guides can coordinate quickly if someone needs assistance.
You’ll carry a backpack with snacks and water. That’s smart. At altitude, thirst can sneak up on you because you’re not always sweating normally. Small, steady snacks and water are easier than trying to “power through” and then bonk on the descent.
At the end, you get a cold drink typical of Chile before heading back to San Pedro. It’s simple, but it helps you come down from the experience without feeling like you’ve been dropped in the middle of nowhere.
One rider also noted that the bikes and gear were in perfect condition, which is what you want for a downhill day. A worn drivetrain or an iffy brake would be the wrong kind of surprise here.


Price and value: why $250 can make sense in the Andes
At $250 per person for about six hours, this tour isn’t cheap in the normal sense. But in terms of value, it’s paying for several things that add up quickly if you try to DIY it.
You’re not just buying a downhill ride. Your price includes:
- round-trip transportation
- an English- and Spanish-speaking guide (and it’s a private group)
- a professional bike
- full protective gear (helmet + guards)
- a support vehicle with first aid
- a light breakfast, hot drink, plus snacks and water
- HD pictures
If you’ve ever tried to source a guided mountain bike day at altitude, you know how much logistics cost: transportation, gear, trained supervision, and a safety plan. Here, all of that is packaged into one half-day experience.
To get your money’s worth, do two things:
- Show up ready to ride (fit + hydration + calm nerves).
- Use the breaks and ask questions. The guides can teach you how to handle the descent so you actually enjoy the riding, not just survive the altitude.
Weather, start times, and the Andes wind problem
This activity is subject to weather conditions, and that’s not a throwaway line. The Andes can change fast, especially with wind.
In one case described by a rider, their tour confirmation came with multiple phone calls to shift the schedule because wind was expected. Then, at the time, there was little wind. The point isn’t to worry you—it’s to tell you how it can work in practice: forecasts may lead to precautionary changes, even if the conditions end up being calmer than predicted.
So here’s my practical advice to you:
- Keep your day flexible. If you’re scheduling this near other tours, leave some breathing room.
- Be ready for a later pickup if the route needs adjustment.
- Bring a layer plan for warmth, because high altitude mornings can feel much colder than the town.
If you hate schedule uncertainty, you might find this style of day annoying. But if you like being in the mountains, knowing you’re riding when conditions are safest, it’s part of the adventure.
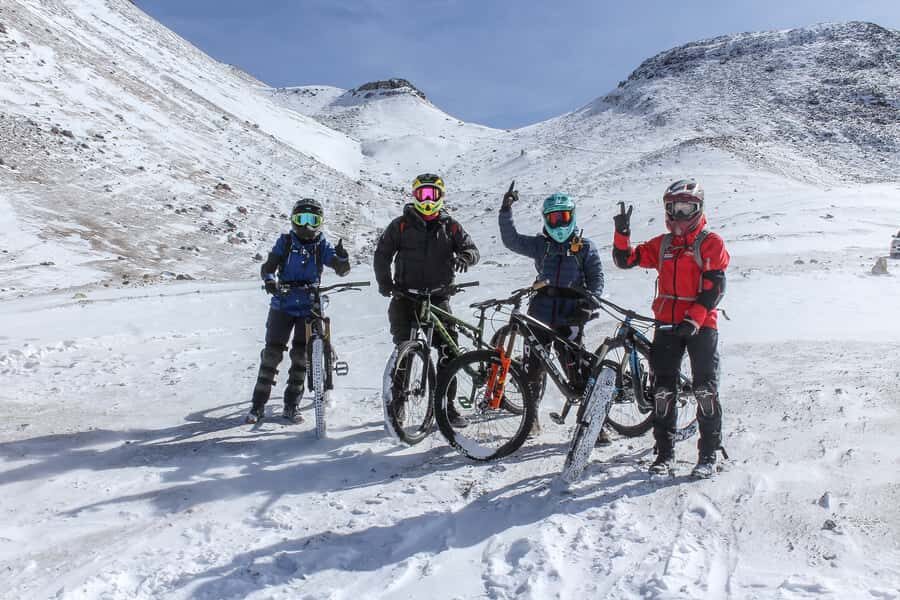
Who should book this Cerro Toco bike tour
This downhill day is built for people who can handle altitude and are physically ready for a sustained ride and time outdoors.
It is not suitable for children under 12 and not suitable for people with impaired mobility. Also, you should have your overall health in good shape because you’ll reach extreme elevations, and the descent demands good control.
Who it’s great for:
- Adults and teens 12+ who want a guided downhill experience with pro supervision.
- Riders with at least a bit of comfort on mountain bikes. One rider said they were a relative beginner with about a year of experience and still enjoyed it.
- People who want the views of volcano country but also want structure and safety gear, not a solo adventure.
Who might want to rethink it:
- Anyone who gets in trouble at altitude (shortness of breath that doesn’t improve with pacing).
- Anyone who expects a gentle pedal day. Even if the trail is simpler technically, descending plus altitude is still a workout in disguise.
Should you book San Pedro’s Volcano Downhill Bike Tour?
If your idea of a great San Pedro day is altitude, big volcano views, and a well-run guided downhill, this tour is a strong match. I especially like it for first-time visitors who want a dramatic experience without needing to plan equipment, route risk, or safety logistics.
Book it if you:
- can manage a high-elevation morning
- want full protective gear and professional guidance
- appreciate a tour that feeds you along the way and gives you HD photos at the end
Hold off or choose something else if you:
- dislike weather-dependent schedule changes
- have mobility concerns or don’t fit the stated age guidance
- are unsure about handling high altitude demands on your breathing
If you’re on the fence, I’d decide based on one question: do you want a guided challenge with a clear safety setup, or do you want a low-stress, stroll-only day?
FAQ
How long is the San Pedro de Atacama Volcano Downhill Bike Tour?
The tour duration is about 6 hours.
Where do you get picked up in San Pedro de Atacama?
Pickup is included from Casa Quitor.
How far is the downhill bike ride?
The downhill portion is about 15 miles.
What altitude does the tour reach?
You stop near 12,800 feet and then ride up to a highest point around 17,000 feet.
What bike and safety gear are included?
A professional mountain bike and safety gear are included, including a helmet, gloves, elbow/forearm guards, and knee/shin guards.
Are the guides available in English and Spanish?
Yes. The tour includes an English- and Spanish-speaking guide.
Is food and water included?
Yes. There is a light breakfast and a hot drink, plus snacks and water during the ride. A cold Chilean drink is provided at the end.
Is this tour suitable for children or people with mobility impairments?
No. It is not suitable for children under 12, and it is not suitable for people with impaired mobility.
What is the cancellation policy?
You can cancel up to 24 hours in advance for a full refund.